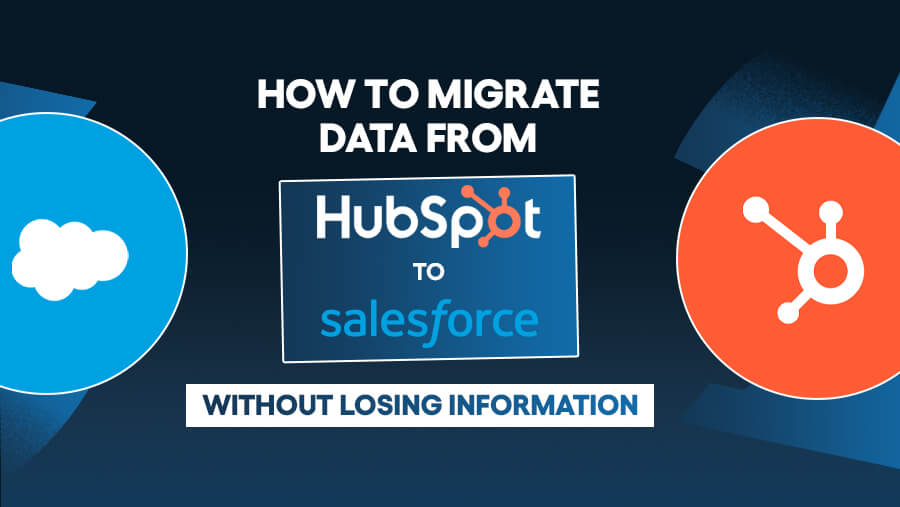
Moving your data from HubSpot to Salesforce is important for businesses looking to scale their operations. But does this process only involve transferring records?
No.
You need to ensure everything stays accurate, organized, and usable.
If the process isn’t handled carefully, you risk three (sometimes even more) adverse outcomes:
- Losing valuable customer information
- Breaking workflows
- Creating duplicate data
A smooth migration requires proper planning, tools, and a clear understanding of both systems.
In this guide, we’ll walk you through every step to ensure your data makes the move safely and effectively. Let’s begin.
Step 1. Prepare for the Migration
Before initiating the migration, you must ensure your data is clean, organized, and ready for transfer. Taking these steps upfront will help minimize errors and provide a seamless transition.
1. Assess and Audit Your Data
Begin by evaluating your current data to determine what needs to be migrated and what can be left behind.

Steps to Clean Your Data:
- Remove duplicate entries using HubSpot’s duplicate management tool.
- Archive outdated or irrelevant records to avoid cluttering Salesforce.
- Complete missing information wherever possible to maintain data quality.
2. Map HubSpot Data to Salesforce Fields
Mapping your data correctly ensures the information is transferred to the right place in Salesforce.

Pro Tips:
- Work with your sales team to align on field mapping and ensure no critical data is overlooked.
- Create new custom fields in Salesforce for any unique HubSpot data that doesn’t have a direct equivalent.
3. Back Up Your HubSpot Data
Before making any changes, safeguard your data by backing it up.
Steps to Back Up Data:
- Use HubSpot’s export tools to download your data in CSV format.
- Navigate to Settings > Data Management > Export Data.
- Choose the data types to export (contacts, deals, companies, etc.).
- Save the exported files in a secure, easily accessible location (e.g., cloud storage or an encrypted hard drive).
- Double-check the exported data to ensure no records are missing.
A reliable backup ensures you can restore your data in case of errors during the migration.
Step 2. Set Up Salesforce for Migration
Configure the system in advance to ensure your data is appropriately integrated into Salesforce. Tailoring Salesforce to align with your data and business needs reduces errors and simplifies migration.
1. Create Custom Fields in Salesforce
Salesforce’s flexibility allows you to add custom fields to capture information specific to your business.

Steps to Create Custom Fields:
- Go to Object Manager in Salesforce.
- Select the object you want to customize (e.g., Leads, Opportunities).
- Click on Fields & Relationships, then New.
- Choose the appropriate field type and provide a label and description.
- Save and test the new field to ensure proper functionality.
2. Organize Salesforce Objects
Salesforce objects like Accounts, Contacts, and Opportunities form the foundation of your CRM structure. Proper organization ensures that your data flows seamlessly.
Steps to Organize Objects:
- Set Up Core Objects:
- Accounts: Represent companies or organizations.
- Contacts: Individual people associated with an Account.
- Leads: Potential prospects not yet qualified as Accounts or Contacts.
- Opportunities: Potential revenue-generating deals.
- Define Relationships Between Objects:
- Link Contacts to Accounts to show associations.
- Connect Opportunities to Accounts and Contacts to track deals.
- Use lookup or master-detail relationships for custom objects (e.g., Products or Subscriptions).
Pro Tip: Visualize the object hierarchy using Salesforce Schema Builder to ensure clarity.
3. Enable Data Validation Rules
Validation rules in Salesforce prevent incomplete or incorrect data from being imported, ensuring high data quality from the start.
Examples of Data Validation Rules:
- Email Address Validation: Ensure all email addresses contain an “@” symbol and a valid domain.
- Mandatory Fields: Prevent records from being saved without key fields like “Contact Name” or “Account Type.”
- Date Constraints: Require close dates to fall within a realistic timeframe.
Steps to Set Up Validation Rules:
- Go to Setup > Object Manager.
- Select the object where you want to add the rule (e.g., Leads, Accounts).
- Click Validation Rules, then New.
- Define your criteria using Salesforce’s rule editor (e.g., “Email contains @”).
- Test the rule before applying it system-wide.
Validation rules improve data integrity and help maintain consistency across records.
Step 3. Migrate the Data
Carefully transferring data ensures your Salesforce system reflects accurate, usable information. Following a structured process minimizes risks and keeps your migration error-free.
1. Use a Data Migration Tool
Data migration tools simplify the transfer process by automating field mapping, importing, and error tracking.

Steps for Configuring Migration Tools:
- Install and authorize the tool with your Salesforce account.
- Map HubSpot fields to Salesforce fields within the tool’s interface.
- Run a test migration to ensure proper alignment.
2. Import Data in Batches
To ensure accuracy, break your data into manageable pieces and migrate systematically.
Steps to Batch Import Data:
- Start with high-priority objects like Contacts or Accounts.
- Segment data by categories (e.g., by region, by team).
- Import data object by object:
- Contacts → Ensure complete records for each contact.
- Deals → Maintain links to associated Contacts and Accounts.
- Tasks/Notes → Include timestamps and associated records for clarity.
Pro Tip: Run a small pilot batch (10-20 records) to test field mapping and spot inconsistencies first.
3. Monitor for Errors During Import
Even with robust tools, errors may occur. Actively monitoring and resolving issues ensures smooth migration.
Steps to Monitor and Fix Errors:
- Review migration logs generated by the tool.
- Common Issues: Missing fields, mismatched data formats, duplicate records.
- Correct errors:
- Adjust mismatched formats (e.g., date or text fields).
- Update or add missing fields in Salesforce or HubSpot data.
- Retry migration for failed records.
Pro Tip: Use Salesforce reports to verify that all data has been imported successfully and to cross-check key metrics like record count or field completeness.
Step 4. Validate and Optimize Your Data in Salesforce
After completing the migration, confirm that the data is accurate, properly structured, and optimized for daily operations. These steps will help ensure a seamless transition and prepare your team to use Salesforce effectively.
1. Verify Data Accuracy
Confirm the integrity of your migrated data to avoid any disruptions.
Steps to Verify:
- Compare Salesforce data with your HubSpot records to check for missing or mismatched entries.
- Test relationships between key objects (e.g., Contacts linked to Accounts, Deals tied to Contacts).
- Spot-check custom fields to ensure they hold the correct values.
Pro Tip: Use Salesforce’s “Data Validation” reports to identify gaps or inconsistencies.
2. Clean Up Post-Migration Data
Fine-tune your Salesforce database for better usability and consistency.
Steps to Clean Up Data:
- Eliminate Duplicates:
- Use Salesforce’s duplicate management tool to identify and merge duplicates.
- Standardize Formats:
- Apply consistent formatting to data like phone numbers, addresses, and company names.
- Use validation rules to enforce these standards moving forward.
Pro Tip: Run a global search in Salesforce for common errors (e.g., blank fields or incorrect formats).
3. Set Up Dashboards and Reports
Make the most of your migrated data by visualizing it through Salesforce dashboards and reports.

Pro Tip: Customize these dashboards for specific teams or roles to enhance effectiveness.
4. Train Your Team
Empower your team with the knowledge to use Salesforce effectively and make the most of the migrated data.
Key Training Topics:
- Navigation basics: How to find and update migrated data.
- Differences between HubSpot and Salesforce workflows.
- New fields or objects introduced during migration.
- Using dashboards and reports for day-to-day operations.
Pro Tip: Conduct live training sessions or create a help center with recorded tutorials for ongoing support.
Step 5. Monitor and Maintain Post-Migration Data
After migration, maintaining your Salesforce data is critical for long-term success. Regular monitoring and updates ensure your CRM remains accurate, efficient, and aligned with your business goals.
1. Establish Data Governance Policies
Implement a structured approach to maintain the quality and consistency of your Salesforce data.
Steps to Create Governance Policies:
- Define Data Entry Standards: Create rules for entering and updating information, including format guidelines for fields like names, phone numbers, and addresses.
- Assign Data Owners: Designate specific team members to oversee the accuracy and completeness of critical data sets.
- Set Data Retention Guidelines: Determine how long data should be kept and establish rules for archiving outdated records.
Pro Tip: Share a documented data policy with your team and conduct regular refresher sessions to ensure compliance.
2. Automate Routine Updates
Leverage Salesforce’s automation capabilities to keep your data fresh and accurate without manual intervention.
Examples of Automation:
- Incomplete Record Alerts: Notify users when mandatory fields are left blank or improperly formatted.
- Field Update Workflows: Automate changes to fields based on specific triggers, such as updating the lead status when a follow-up task is completed.
- Data Hygiene Alerts: Send reminders to clean or review records flagged during audits.
Pro Tip: Use Salesforce Flow or scheduled processes to automate these tasks and save time.
3. Regularly Review and Optimize Data
Conduct routine reviews to identify and resolve potential issues while keeping Salesforce aligned with your business needs.
Steps for Ongoing Optimization:
- Schedule Audits: Perform monthly or quarterly data audits to check for duplicates, incomplete fields, or outdated records.
- Clean Up Records: Archive or delete obsolete data and standardize entries for consistency.
- Refine Settings and Workflows: Use feedback from your team to tweak Salesforce processes, such as improving dashboards or simplifying workflows.
Pro Tip: Use Salesforce’s built-in “Duplicate Management” tools and reports to streamline clean-up efforts.
Wrapping It Up
Migrating data from HubSpot to Salesforce requires careful planning, execution, and maintenance. You can ensure a seamless transition without losing critical information by auditing your data, mapping fields, using reliable tools, and validating the results.
Post-migration, focus on data governance, automation, and regular optimization to keep Salesforce efficient and aligned with your business goals.
With the right approach, your Salesforce CRM becomes a powerful tool to drive productivity, improve decision-making, and support your long-term growth.